Recently, a thought-provoking question came from one of my Facebook friends, who asked if I find it hard to part with my paintings when they sell, since I put so much of myself into creating them. This question made me think of several favourite pieces that I no longer own.
The truth is, when a really successful piece sells quickly, I do feel a bit of a pang inside, because I still have a powerful emotional connection with the finished artwork.
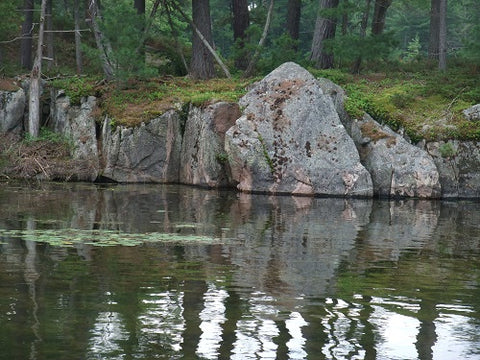
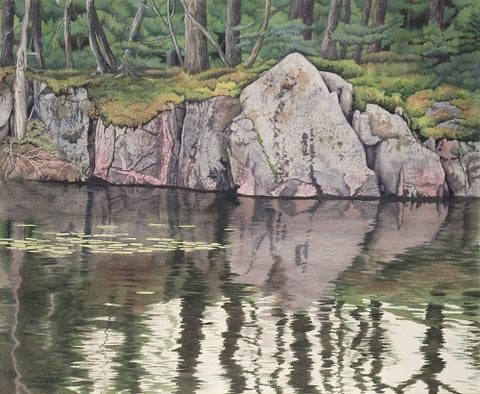
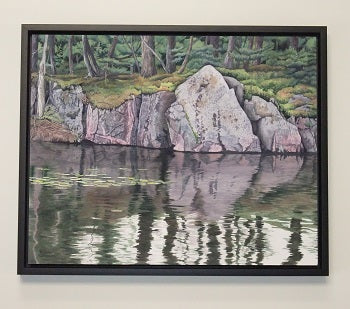
The images in this post reveal paintings that still own a piece of my heart, even though they have long ago been acquired by collectors.
Pictured above is Hardwood Floor, painted in 2002. I enjoyed it for three years before it found its new owner, but I still miss it. The colours just sing to me and I like the idea of finding beauty in imperfect or ordinary things.

The painting above is Sweet Slumber (1990) which graces a home in Calgary, Alberta. I love the contrast of complementary colours, orange and blue, in this piece, as well as the diagonal and vertical lines that guide the viewer's eye around the composition.

Above is Autumn Welcome (1995), inspired by a beautiful historic home in Port Perry and a twig chair made for me by a friend. I love the seasonal elements that celebrate autumn and the contrast of the red-orange brick with the dark green of the porch and roof. Fittingly, this painting was acquired by the home owners.

Shown above is Noteworthy (2006) and below is Sun, Sand and Sea (2006). Both were inspired by trips to the Maritimes and sold the same year they were created. I adore the balanced composition and fresh colour palette of Noteworthy, and the contrasting textures and subdued colours in Sun, Sand and Sea.

I have had lots of practice saying good-bye to paintings, with over 600 of them sold to collectors since 1986, and I am still young enough to think I have 'unlimited' opportunity to paint more great pieces.
Below is Desert Compadres (2009), inspired by our trip to the American Southwest. This Collared Lizard ran right up to me as I was standing in the Painted Desert taking photos. This normally elusive creature posed on the colourful gravel at my feet for about 30 seconds and I got several clear close-up shots to use as painting references. I couldn't believe my good luck. I added the cactus to the scene in my painting, which sold before it was finished.

I take photos of every completed painting and keep an archive to refer back to, so I can continue to enjoy my sold pieces. Below is Simply Amaizing (2009). The step-by-step process of painting this remarkable larger-than-life piece is detailed in my book Watercolour Toolbox. I love the light and shadow in this painting, as well as the range of colour. Every sunlit corn kernel has a highlight and a shadow containing reflected light.

Essentially though, I paint in order to share my reverence for peaceful and beautiful places, usually in the natural world, with folk who feel the same. Below is Magnolia Serenade (2012) which sold the following year. I am drawn to the dreamlike quality and soft colours of this painting. The background was challenging but turned out beautifully.

I experience a thrill when one of my 'kids' goes to its forever home, where it will enrich other people's lives for decades to come. February Flow (2016), shown below, sold just two months after I finished it, which is wonderful, but I do miss this awesome painting. I love the contrasts within it - light/dark, fluid/frozen, and powerful/delicate.

Last year, I painted a set of three watercolours of pebble stacks, each named after a different cocktail. I only got to enjoy them for three months before they went to their forever home in Washington state. Shown below is one of them, Martini on the Rocks (2017).

My art business motto is "Making the world a happier place... One painting at a time." So I am committed to sharing my paintings with a wide audience, but sometimes that does tug on my heart strings.
Cheers everyone. And feel free to share!
Your comments are welcome. Please use the 'Leave a Comment' button at the top of this post.
Subscribe to Karen's Newsletter for exclusive early access to new work, studio news updates, travel tales, painting tips, and notices of upcoming exhibitions.