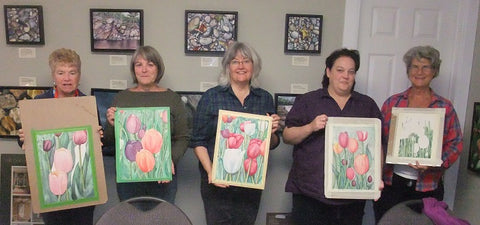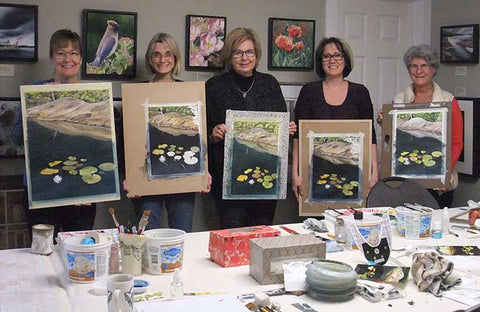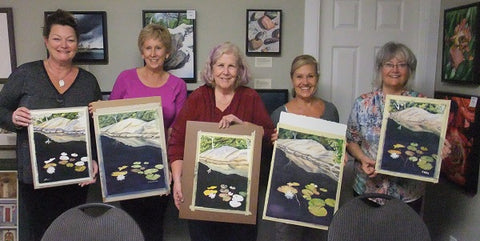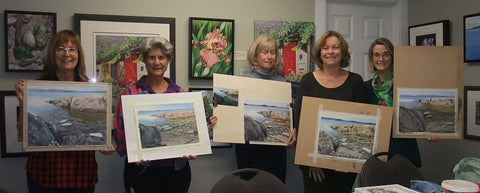
Earthbound Artist

A Winning Season

01 November, 2016 1 comment Leave a comment

It seems I live a charmed life. From every show I have exhibited in, for the last few months, I have brought home an award. How long can it last?

My recent winning streak started at The Northern Art Show in Apsley in August, where my display booth won the People's Choice Award and a cash prize. Here are photos of parts of my booth.

Karen Richardson's watercolour display at The Northern Art Show in Apsley, August 2016.   Karen Richardson's watercolour display at The Northen Art Show in Apsley, August 2016.

In September, I had two paintings accepted into the Kawartha Art Gallery's Annual Juried Show, and they both won awards and cash prizes. Rhapsody in Red won the 'Technical Skills & Use of Colour Award', and Caught in the Rain won an Honourable Mention. Both paintings are pictured below.

Rhapsody in Red, watercolour by Karen Richardson   Caught in the Rain, watercolour by Karen Richardson

In October, Ajax Mayor Steve Parish presented me with the Mayor's Award and cash prize at the PineRidge Arts Council Annual Juried Art Exhibition, for my painting Sunbathing Swallowtails, pictured below.

This show of 64 paintings is now being exhibited at the McLean Community Centre, 95 Magill Drive, in Ajax until November 26. The juror selected the paintings in the show from 178 pieces submitted by 96 artists, and the PRAC awarded almost $5,000 in prizes.

Karen Richardson with her award winning watercolour, Sunbathing Swallowtails

Here is a detail from Sunbathing Swallowtails:

Detail of Sunbathing Swallowtails, watercolour by Karen Richardson

My next big show will be the 40th Annual Buckhorn Fine Art Festival next August. Wish me luck!

And what did I do with all my winnings, you ask? Well, I tucked it all away in our 'vacation jar', ready to fund our upcoming winter snowmobiling adventure on Baffin Island. Stay tuned!

Subscribe to Karen's Newsletter if you wish to see more travel tales, studio news updates, or notices of upcoming painting classes and exhibitions.

SaveSaveSaveSaveSaveSave

A Lifetime of Enjoyment

20 July, 2016 4 comments Leave a comment

I spend a lot of time reading articles about the creation of art as well as the marketing side of the art business. I adore working creatively, but I also want to share my art with the world, rather than just keep it as a solitary pursuit. I recognize the fact that I need to find good homes for my art.

Wild Wonders - Lynx (Private Collection)

Recently, I came across a blog post by McKenna Hallett, directed at artists who are reluctant to act as their own 'salesperson' at art festivals. I think almost all artists, natural introverts, have faced this hurdle. The article grabbed my attention with this statement:  "You are not selling art. You are giving collectors the exclusive rights to a lifetime of personal enjoyment." That puts things in a new perspective.

'Rivers in Time' and 'Featherstone' (Private Collection)
Later, the article went on to say "Your art nurtures the creative soul in all who view it and forever enriches the lives of those who own it", making the case that artists are doing the world a favour by helping collectors find and purchase art.

'Desert Compadres' (Private Collection)
These statements resonate with me, especially when I think back about all the appreciative comments I have heard over the years, from previous buyers of my paintings. This lead to the creation of my tagline "Making the World a Happier Place... One Painting at a Time."

'Give Me Shelter' (Private Collection)

I have started collecting photos taken by some of these wonderful patrons, showing my artwork hanging in their homes or offices, in places where the paintings can be enjoyed on a daily basis. I plan to create a web page of this 'In Situ' art, to let people see my art where it enriches lives.

'Lunenburg Light' (Private Collection

The photos in this article are all from clients who have expressed appreciation for the joy my art brings to them. I thank you all.

If you are a collector of my work, I would love to hear your comments about how my art has made your life better in some way. If you could send me a photo showing my art in your decor I would be most grateful. Email your comments or photos to me at karen@karenrichardson.ca.

Subscribe to Karen's Newsletter if you wish to see more artist news, travel tales, or notices of upcoming painting classes and exhibitions.

Painting Seagulls and Sand

12 July, 2016 2 comments Leave a comment

For the first time, last fall I taught a watercolour class with birds as the subject. I discovered they are fairly easy to paint if one has a well-composed, sharply focused reference photo.

Here are the steps in the painting:

Step 1: (see photo below) I demonstrated the classical method of enlarging the image, using proportional grid lines. Looking at one square at a time on the reference photo, I drew the subject onto the layout paper in the corresponding square, drawing everything twice as wide and twice as tall as in the original photo.

Paintng Seagulls, step 1, by Karen Richardson

Step 2: (see photo below) Once the drawing looked correct, I traced it onto 300 lb cold press watercolour paper, using a graphite transfer sheet in between.

Using clear adhesive shelf paper and masking fluid, I protected the bird shapes. I also spattered masking fluid over the sand, using a tooth brush. The shelf paper and masking fluid keep the paper dry and clean while I paint the background, and will be removed prior to painting the bird and pebbles.

Once the masking fluid was dry, I mixed two neutral paint mixtures (one brownish and one grayish) using Indian Yellow, Prussian Blue, Cobalt Blue, and Permanent Alizarin Crimson. I wet the sand area, dropped in the two colours, and sprinkled on table salt.

The salt absorbs water and paint and is scraped off when dry, but it leaves behind an interesting 'starburst mineral' effect in the dried paint.

Painting Seagulls, step 2, by Karen Richardson

Step 3: For the background, I mixed a medium green and a very dark green using the four paints listed above. I moistened the paper with clear water, just in the areas that were to be lighter. Then I brushed the medium green mixture onto the wet areas, and the dark green mixture onto the dry areas.

Painting Seagulls, step 3, by Karen Richardson

Step 4: (see photo below) The background had gotten lighter and duller when dry, so I glazed over it with Sap Green and added more of the dark green mixture to the shadow areas.

Once the background was fully dry, I removed the shelf paper and masking fluid. Using various mixtures of the original four paints, and with careful observation of the reference photo, I painted the bird feathers. I started with the lightest blue shadows and gradually built up to the darks, layer by layer. The beaks, eyes, and legs were done with the same strategy.

To complete the sand pile, I used a dark neutral mixture to paint the shadows cast by pebbles and large sand grains, and I scumbled over the sandpile with the side of a brush dampened with the same dark mixture. I painted the details on the pebbles using a fine brush.

To see a larger photo of the framed seagull painting Defending High Ground, click here.

Painting Seagulls, final steps, by Karen Richardson

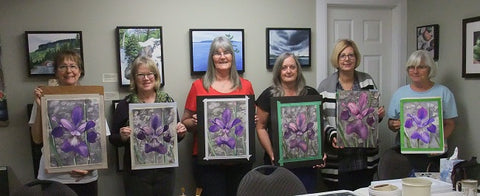
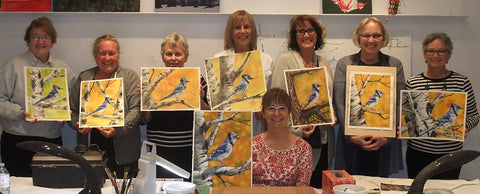
Here is a photo of my students with their paintings. Well done, ladies!

Painting Seagulls - student graduates

Subscribe to Karen's Newsletter if you wish to see more painting tips, travel tales, studio news updates, or notices of upcoming painting classes and exhibitions.

The Artist's Garden

27 May, 2016 0 comments Leave a comment

Tulips in Karen Richardson's Garden

In addition to painting, Gardening is a creative pursuit that I enjoy, although perhaps a better term would be 'Gardenscaping'.

Summer weeding can become a chore (although mulching helps reduce weed growth), but I love to build new garden beds - planning the shape; making my own triple mix from top soil, peat moss, and sand; and placing boulders in strategic spots as stepping stones.

Then comes plant selection - perennials and spring bulbs are my favourites - then planting, fertilizing, watering, and mulching. To me, it is such a satisfying process and result.

Tulips in Karen Richardson's Garden

I've been working hard this past week getting my gardens tidied up for spring. They all needed edging with a spade, some weeding was necessary, and I had to add a deeper layer of mulch to several beds.

Tulips in Karen Richardson's Garden

I planted tulips last fall in the garden outside my kitchen window, and I get such pleasure out of seeing them bloom for the first time.

Tulips in Karen Richardson's Garden

We have two crab apple trees in our front yard, both in bloom at the moment. The white one is ornamental, with inedible fruit that stays on the tree all fall and winter. The pink one has sweet fruit that drops every fall.

Tomorrow I'm off to the annual plant sale at our local horticultural club. I still have blank spots to fill!

I hope you enjoyed this little garden tour. Happy spring everyone.

Subscribe to Karen's Newsletter if you wish to see more of the artist's life and travels, studio news updates, or notices of upcoming painting classes and exhibitions.

Spring Class Graduating Students

02 May, 2016 5 comments Leave a comment

This spring, I had the pleasure of leading a total of 20 students on a painting journey, in my newly-renovated watercolour studio/gallery in Lindsay. We all worked hard and made some great art.

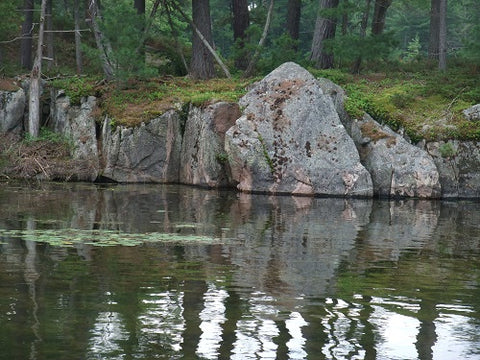
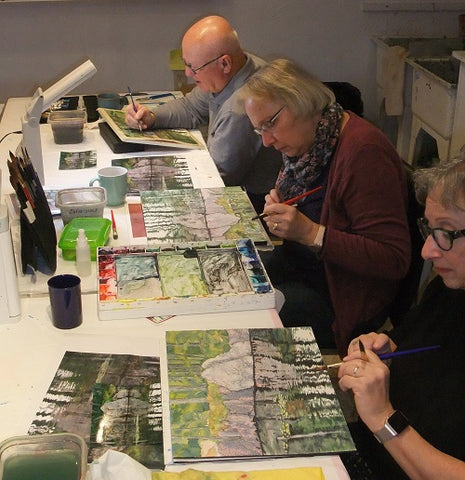
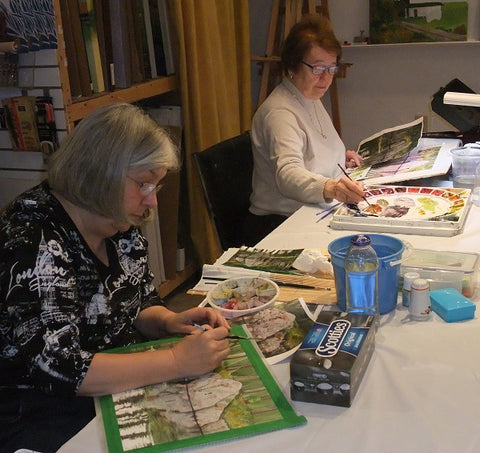
Shown below are the ladies of my three-day Autumn Bay class, starting to work on their paintings.

Autumn Bay class

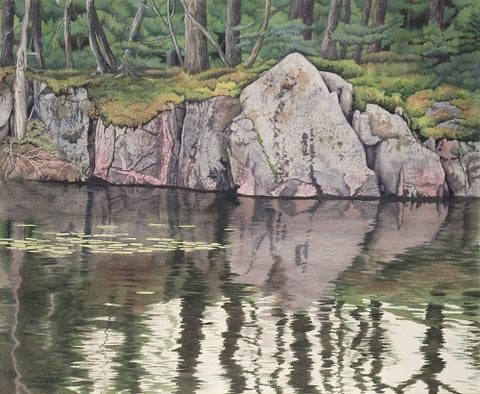
The next photo is their graduation, with my demonstration painting shown at the bottom. Several of the students opted to paint larger formats and finish them after class.

Autumn Bay class graduation

 One of the Autumn Bay students sent me this comment after class:

"Thank you so much for a great painting session and the photos.  I am grateful that you included the steps of building up your painting as well.  It will be a great reference as I continue my homework. I really enjoyed the graduation photo. It is good to look at everyone’s work objectively when we have had some time to distance ourselves. Everyone did a fabulous job because of your excellent guidance. Thank you once again." ~Wendy M.

This photo below is from my two-day Canadian Road Trip class.

Canadian Road Trip class

You can see my demonstration painting in the bottom of this photo of the graduating students.

Canadian Road Trip class graduation

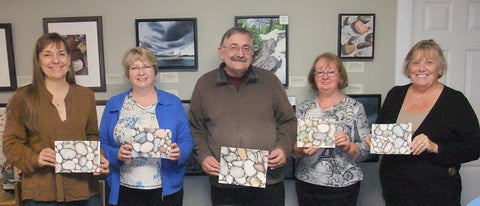
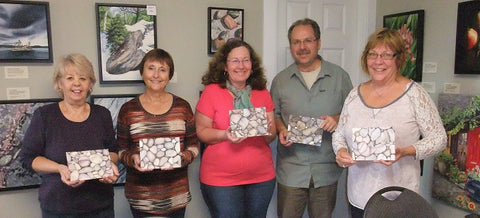
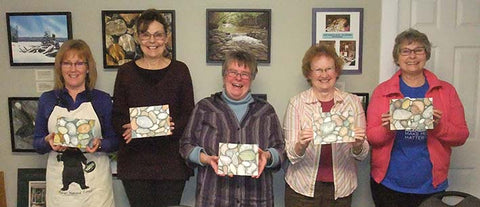
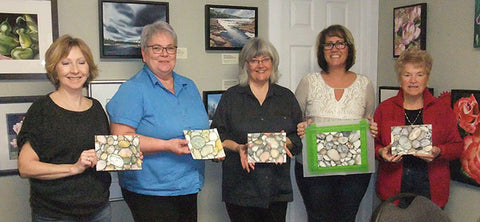
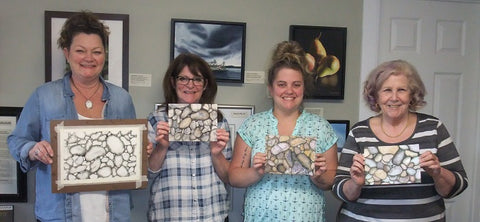
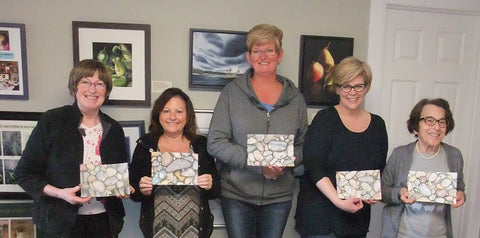
And here are some photos from my Pebbles 1-2-3 one-day classes.

 Pebbles 123 class

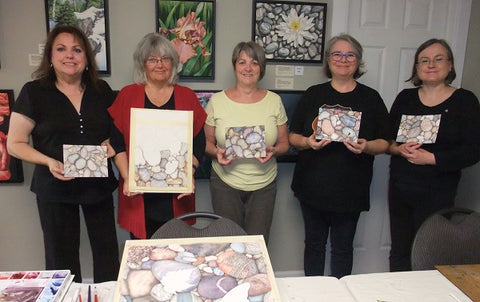
Although my Pebbles classes are usually for absolute beginners, I did teach one group at the advanced level. They started larger compositions in class so they could work on them at home. Here is how far they got in the one day class.

Pebbles class graduation

One student sent me this comment after class:

"Thank you Karen. I thoroughly enjoyed my day and really like PEBBLES!! Yeah! The way you explained colour mixing made so much more sense than the other classes I have taken. Thank you so much for our class yesterday." ~Maggie H.

Pebbles 123 class graduation

Another student sent this message:

"I want to thank you so much for welcoming us into your home, and for such an informative class.  You are very special because you make everyone feel comfortable, no matter their skill level. I look forward to taking another class." ~Marjorie B.

Pebbles 123 class graduation 

Two of the students who did additional work on their paintings at home after class sent these photos of their lovely work.

Painting by Ann Louise S.     Painting by Jane F.

Thank you to all my students, who made a watercolour journey with me this spring. Together, we learned a lot!

 Subscribe to Karen's Newsletter if you wish to see more painting tips, travel tales, studio news updates, or notices of upcoming painting classes and exhibitions.

Painting Pebbles and an Autumn Leaf

01 May, 2016 0 comments Leave a comment

Autumn Memory, watercolour by Karen Richardson

Recently I worked on this painting as a demonstration at a one-day Pebbles 1-2-3 class. Here is how it started:

Step 1: After drawing a crinkled yellow leaf as the focal point, I penciled in the pebble shapes around it, loosely inspired by a photo reference. Using neutral mixtures created from primary colours, I painted interior shadows in the pebbles. This starts to build the 3-D effect. The leaf will be left unpainted until the pebbles are completely done.

Autumn Memory, step 1

Step 2: Using a dark neutral mixture, again from the primaries, I painted the negative spaces between the pebbles. In the larger spaces I used a graded wash, to give the impression of an underneath layer of pebbles.

Autumn Memory, Step 2

Step 3: Using various combinations of primary colours, I painted the coloured pebbles. Since watercolour is transparent, you can still see the shadow layer showing through the colour layer.

Autumn Memory, Step 3

 Step 4: Using more neutral darks, mixed from primaries, I added the shadows cast by the pebbles and intensified the interior shadows where needed. After that had dried, I painted the leaf, first with pale yellow and then with darker golds. Finally, I painted the shadow cast by the leaf to finish Autumn Memory, 4.5 x 7.5".

Autumn Memory, Step 4

Subscribe to Karen's Newsletter if you wish to see more painting tips, travel tales, studio news updates, or notices of upcoming painting classes and exhibitions.

Our Labrador Adventure

23 April, 2016 15 comments Leave a comment

When I look out my windows and see green grass and spring flowers blooming, it's hard to believe just a month ago we were enjoying wintry wilderness scenery in Labrador.

We made the long journey there for some quality snowmobiling, along with our long-time friends Rick and Nancy. The 3,500 km round trip took us along the north shore of the St. Lawrence River past Montreal and Quebec City, to Baie-Comeau. From there, we headed north through the rugged hills of eastern Quebec and finally over the border into Labrador City.

The route along the St. Lawrence included a free ferry across the Saguenay River. Shown below is Nancy with my husband John, standing on the ferry, beside the truck and snowmobile trailer.

Saguenay River Ferry

We had a good view of ice floes on the Saguenay River, where it enters the St. Lawrence.

Ice Fkoes on the Saguenay River

After a long day of travel, including through an evening snowstorm, we stopped for the night at a motel in Baie-Comeau. The next day the skies had cleared and we headed north 585 km on the rugged road to Labrador.

 Quebec Hwy 389 to Labrador City

Ten years ago, the last time we ventured up this road, it was mostly gravel and quite scary. This time, it was mostly paved but still challenging in parts because it is twisty, narrow, very hilly, and sometimes muddy.

Quebec Hwy 389 to Labrador City

 We barely made it up one of the toughest hills, shown above. Despite freezing temperatures, the sunshine had melted the top inch of gravel on the south face, making for poor traction going up. But everybody held their breath and we made it over the top.

We passed by the massive Manic Cinq dam (shown below) and stopped for lunch at the small restaurant/gas station nearby.

Quebec's Manic Cinq Dam

Freezing temperatures, combined with patches of wet gravel, coated the truck and trailer with some very interesting ice formations, especially on the wheel hubs:

Mud icicles   Mud icicles

The ice was hard like concrete inside the wheel wells, but we managed to kick it off so the wheels could move freely. I saw a truck driver using a large sledgehammer to knock the ice off the sides of his flatbed trailer.

Mud icicles

Mud icicles

Late afternoon found us still heading north through the Canadian Shield on drier roads, towards Labrador.

Quebec Hwy 389 to Labrador City

Finally we reached the provincial border and stopped for photos.

Welcome to Labrador

John and I are pictured below.

 Karen and John reach Labrador

Labrador City is only 15 km past the border, and we pulled in about 7 pm. We stayed at the Two Seasons motel. They named it after the only two seasons they have this far north - Winter and Last Winter. Haha.

There was a fair amount of snow in Lab City. Here is the view out of the second story window in our room.

View from our second story window in Labrador City.

We enjoyed three days of snowmobiling in sunshine and temperatures in the minus 20's Celsius, for the most part. The second morning it was minus 44 with the wind chill, so we visited the mall and had a hot lunch at our motel prior to setting out on the trails. Pictured below are Nancy, Rick, and John.

Snowmobiling near Labrador City

Tree cover is more sparse in Labrador than we are used to in Ontario, and this means there is lots of space for trails.

Snowmobile trail near Labrador City

Typically the trails are 20 to 30 feet wide and very smooth.

Wide snowmobile trail near Labrador City

Due to the extreme cold of Labrador winters, the snowmobile clubs have built warm up huts at regular intervals along the trails. They were a welcome sight for sure. One is pictured below.

 Warm up hut on snowmobile trail near Labrador City.

The huts are outfitted inside with benches to sit on as well as a wood stove, and free wood, kindling, kerosene, and matches to start a fire. Shown below are our friends inside a cosy hut. The racks are for drying and warming up clothing around the stove.

Many local people ride without the full snowmobiling gear we are used to, and helmets are not mandatory in the province of Newfoundland and Labrador. We often saw people snowmobiling in fur trapper hats, goggles, and mittens, so I am sure their faces get really cold. Full face helmets are so much warmer and we were glad to have them.

Interior of warm up hut, near Labrador City.

This was our first trip using our new Arctic Cat snowmobile, shown below with John and I. It has two gas tanks and can travel up to 500 km between fill ups. We also found the suspension to be very comfortable, compared to our 11 year old Skidoo, and I loved having a heated seat and handlebars. Our helmet visors are also heated electrically, so they don't frost up from our breath.

John and Karen snowmobiling near Labrador City     John and Karen snowmobiling near Labrador City

From our two previous winter trips to Labrador City, we knew to stay on trails, as the un-groomed snow is very powdery, like flour or white sugar. John stepped off the trail to demonstrate this to our friends, and immediately sank up to his torso. His boot had not reached bottom yet, so he had to lay back onto the snow to roll onto the trail.

John sunk in powder snow near Labrador City

All too soon, it was time to head back to Ontario. The weather was colder on the trip out, as shown by the photos below. The first one was taken on the trip into Labrador.

View of open river from the road to Labrador City

Below is the same view four days later, silvered with frozen mist.

Open river near Labrador City

We thoroughly enjoyed our week away. If you ever get the chance, it's worth the trek to Labrador to take advantage of their world class snowmobile trails. March or April is the best time to go - good snow conditions, less cold weather, and more sunshine!

Subscribe to Karen's Newsletter if you wish to see more travel tales, studio news updates, or notices of upcoming painting classes and exhibitions.


Birdhouses Benefit Refugees

12 March, 2016 4 comments Leave a comment

I just completed a fun art project for a special fundraiser, to support newly-arrived or soon-to-arrive Syrian refugee families in Port Perry.

As one of 20 artists invited to participate by Meta4 Gallery, I embellished a wooden bird house with a totally new art form for me - Zentangle.

Zentangle Birdhouse by Karen Richardson

I painted the birdhouse white, and then inked all four walls and the roof with black Zentangle patterns. I used over 40 different motifs.

Zentangle Birdhouse by Karen Richardson

I decided to leave the colouring options to the buyer, and have included a package of Winsor & Newton artist markers with the birdhouse. The buyer can leave it black and white, or be creative with colour.

Roof of Zentangle Birdhouse by Karen Richardson

More than 20 of these one-of-a-kind creations will be on display at Meta4 Gallery, 200 Queen Street in downtown Port Perry, from March 18 to 28, 2016 as part of a silent auction.

And if you just can't bear to miss out, there's a "buy it now" option too.

Zentangle Birdhouse by Karen Richardson

Meta4 Gallery is open daily except for Good Friday, March 25. I hope you will be able to see the display of birdhouses, and perhaps make a bid or purchase one to benefit this worthwhile cause, before they all 'fly away'.

Subscribe to Karen's Newsletter if you wish to see painting tips, travel tales, studio news updates, or notices of upcoming painting classes and exhibitions.

The Making of 'You Are My Sunshine' (Yellow Rose)

29 February, 2016 2 comments Leave a comment

Last fall I started this 12 x 12" watercolour of a yellow rose laying on a bed of smooth pebbles. After many interruptions, I finally finished it three months later. Fortunately I took photos along the way, so I could share with you the steps involved in this piece. Here goes...

After drawing the rose onto my watercolour paper, and masking out a bit of twig on the right, I painted half of the pebbles, working around the rose shape. All the pebble colours were mixed from the primary colours French Ultramarine (blue), Permanent Alizarin Crimson (red), and Aureolin (yellow). I sprinkled salt on some of the pebbles while the paint was wet, to add a mineral pattern. Once the salt dried, I brushed it off.

Step 1 of Yellow Rose by Karen Richardson

Tired of painting pebbles, I started working on the rose. This first layer shown below is just yellow with varying amounts of water to make the paint lighter or darker.

Step 2 of Yellow Rose by Karen Richardson

After the first layer was dry, I added a more yellow darkened with a bit of red and blue in the shadowy areas (below).

Step 3 of Yellow Rose by Karen Richardson

 Once the rose was dry, I switched back to darkening around each pebble with a dark mixture of the three colours. The rose is really starting to 'pop' now.

 Step 4 of Yellow Rose by Karen Richardson

In the photo below, I have completed the first value layer on the pebbles in the right half of the painting (shown in the upper right quadrant), and started the second darker value layer (shown in the lower right quadrant).

Step 5 of Yellow Rose by Karen Richardson

Below you can see the pebbles on the right have had colour patterns added, to look more like real stones.

Step 6 of Yellow Rose by Karen Richardson

To complete the painting I added more shadows around the pebbles, created more patterns on the stones, painted the rose stem, removed the masking from the twig and painted it, and added the shadow cast by the rose onto the pebbles (shown below).

I researched the symbolism of yellow roses and discovered they stand for happiness, friendship, and caring. For this reason, I decided to title the painting You Are My Sunshine.

For more information about this painting and how it is framed, click here.

Subscribe to Karen's Newsletter if you wish to see more painting tips, travel tales, studio news updates, or notices of upcoming exhibitions.

We Found the Snow!

20 February, 2016 7 comments Leave a comment

We have had an exceptionally mild winter in central Ontario this year, with green grass on our lawn in early February, but we managed to find great snow conditions for our annual couple's snowmobile safari.

Our route took us and our friends around the eastern end of Algonquin Park, from Barry's Bay to Pembroke to Mattawa and back. The photo above is the Petawawa River.

John and Karen Richardson near Deux Rivieres     John and Karen Richardson on a Snowmobile Safari

Here are my husband and I with our Ski-Doo. During our trip, John and I celebrated our 39th anniversary, on Valentine's Day.

We saw lots of animal tracks in the snow and I managed to photograph a few of the deer we saw.

Deer near Barry's Bay

Deer near Pembroke

We snowmobiled for four days, hauling our gear with us and staying in a different motel or lodge each night. The trails were in excellent condition, mostly smooth and not too busy.

If you have never seen the equipment that keeps snowmobile trails in good condition, here are some photos of a groomer. It's a big tractor with a plow on the front, and tows a heavy frame behind it. In the photos the frame is raised up on wheels for road transport; once on the trail the frame will be lowered to drag along the snow surface and flatten it out.

 Snowmobile trail groomer     Snowmobile trail groomer

We drove through lovely panoramic scenery, with hillsides made silver with a hoar frost.

Hoar frost in the Ottawa Valley

The fresh snow clung to tree branches to make a 'winter wonderland'.

Near the Petawawa River

When the sun shone, the shadow-play was marvelous.

Near the Petawawa River     Creek in the Ottawa Valley

Now I have lots of ideas for paintings of winter scenes!

Stay tuned for our next snowy adventure, in the wilds of Labrador.

Subscribe to Karen's Newsletter if you wish to see more travel tales, studio news updates, or notices of upcoming painting classes and exhibitions.

« Previous 1 11 12 13 14 15 21 Next »